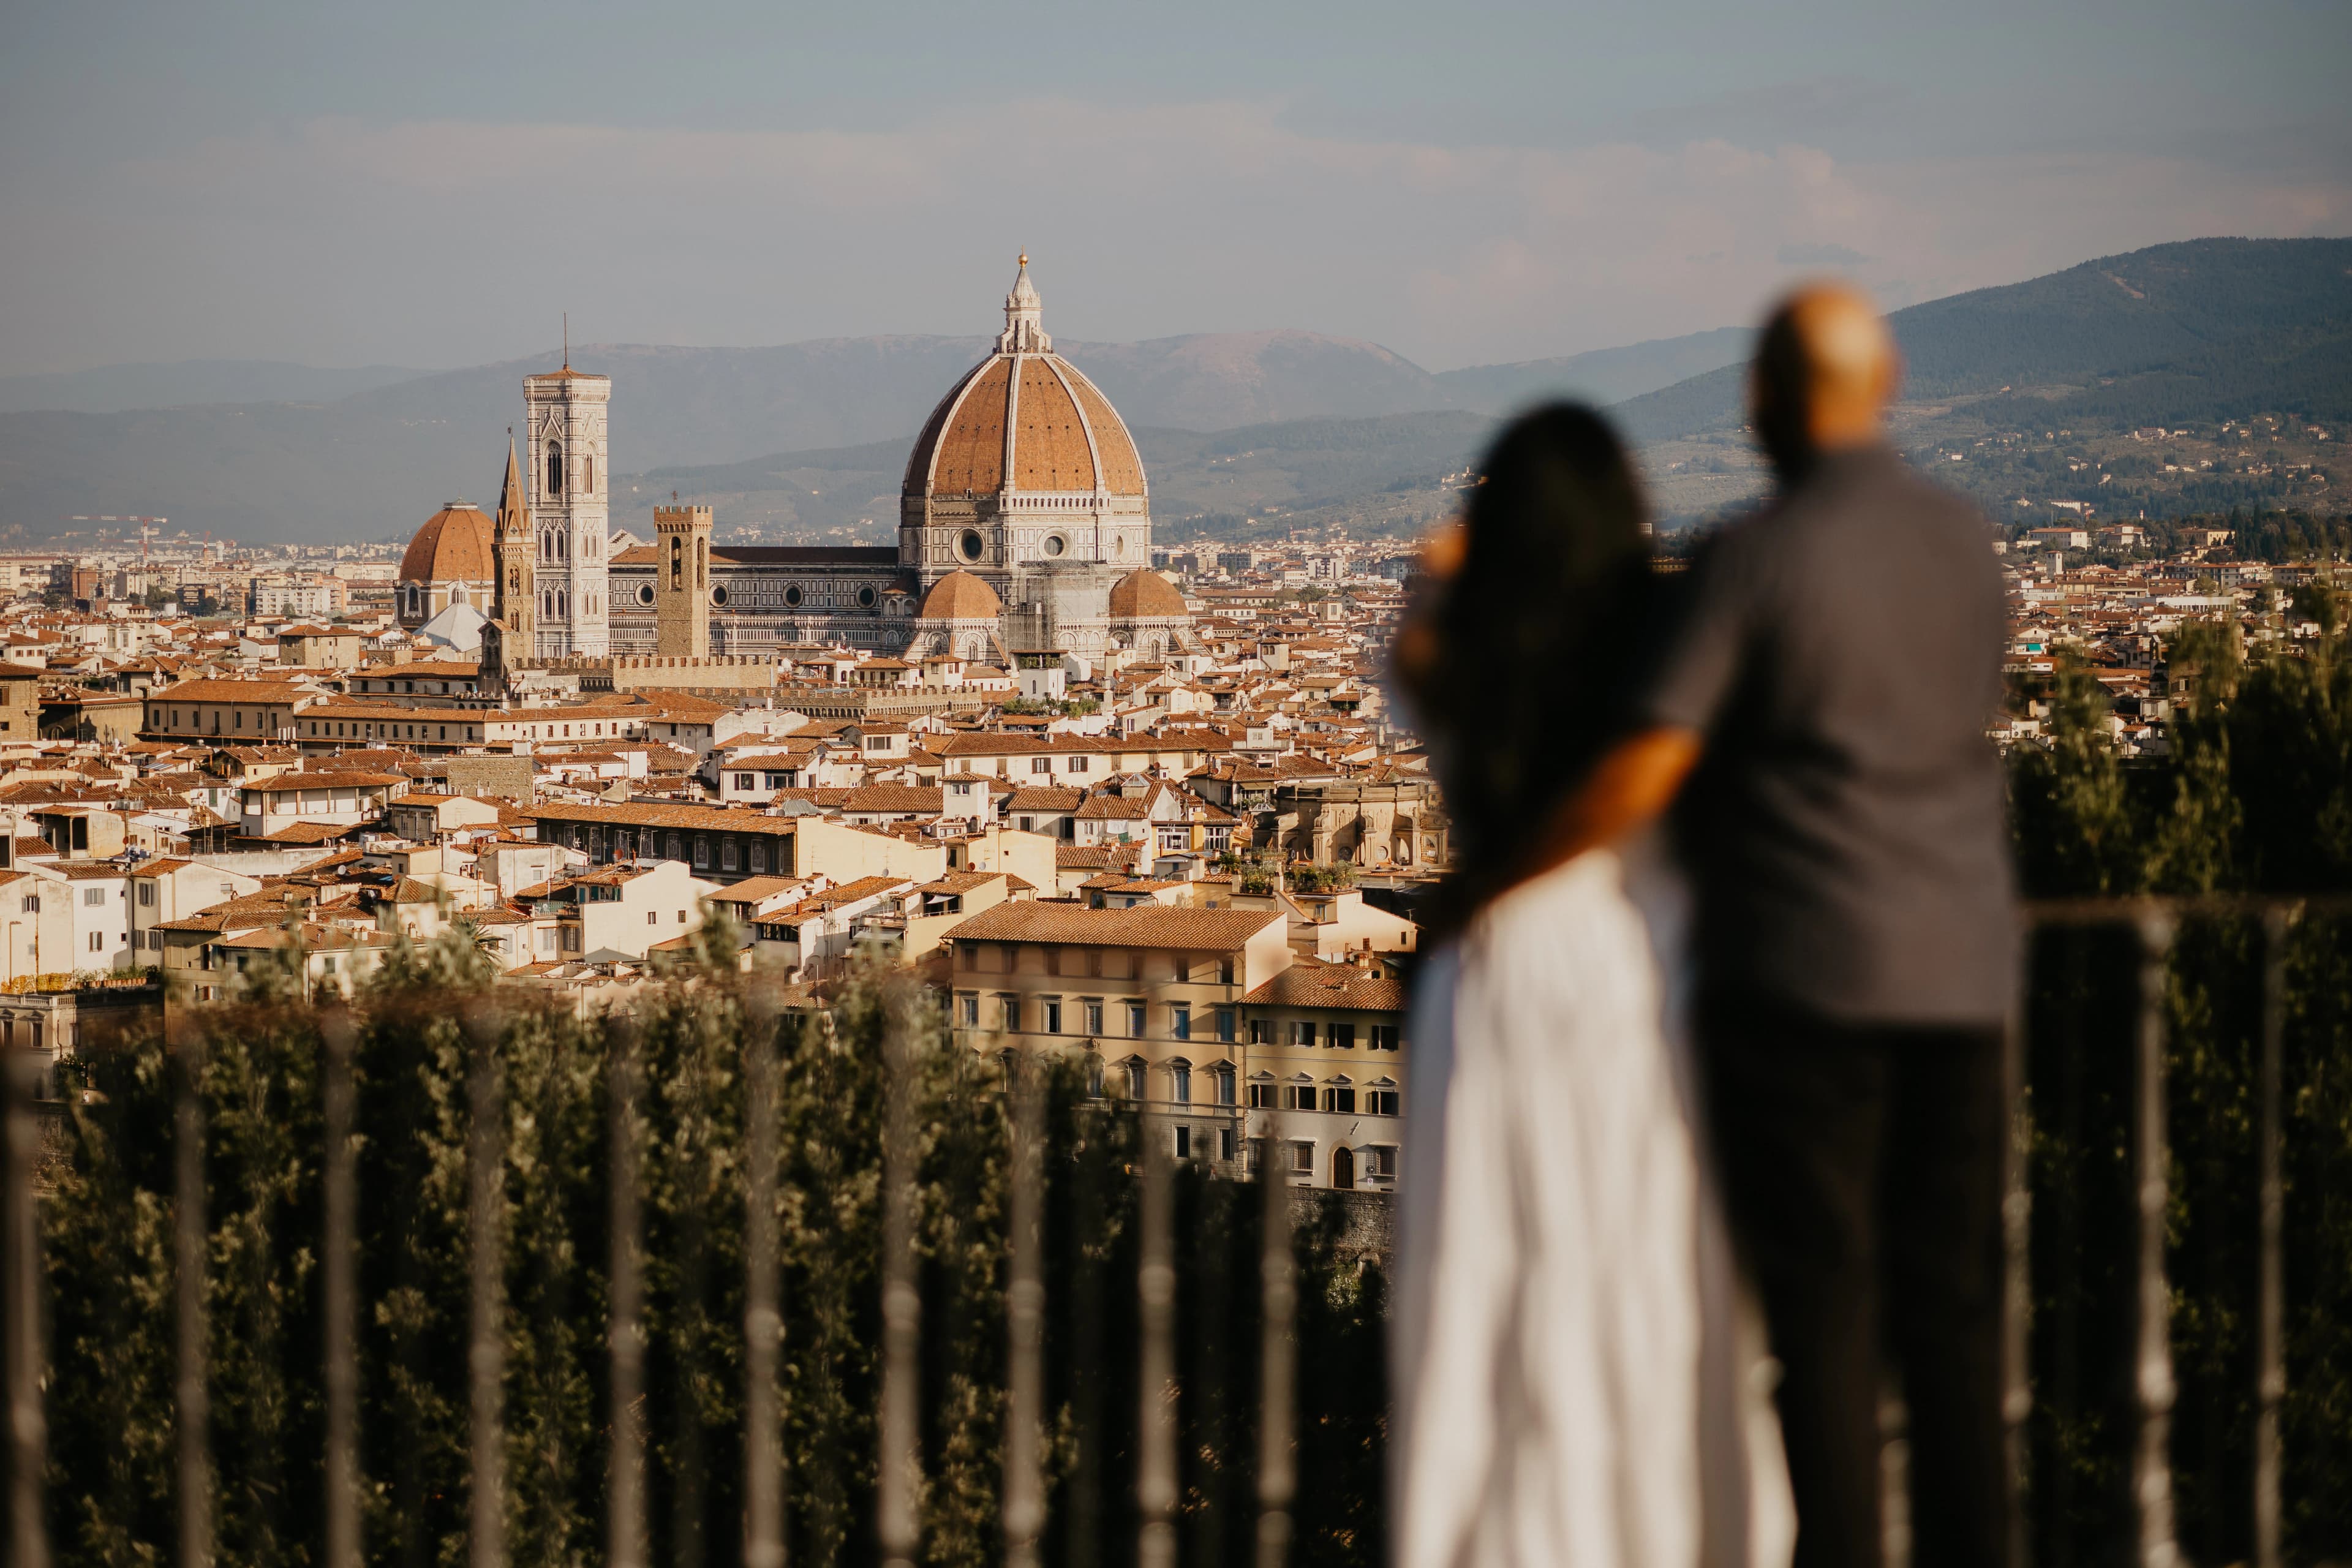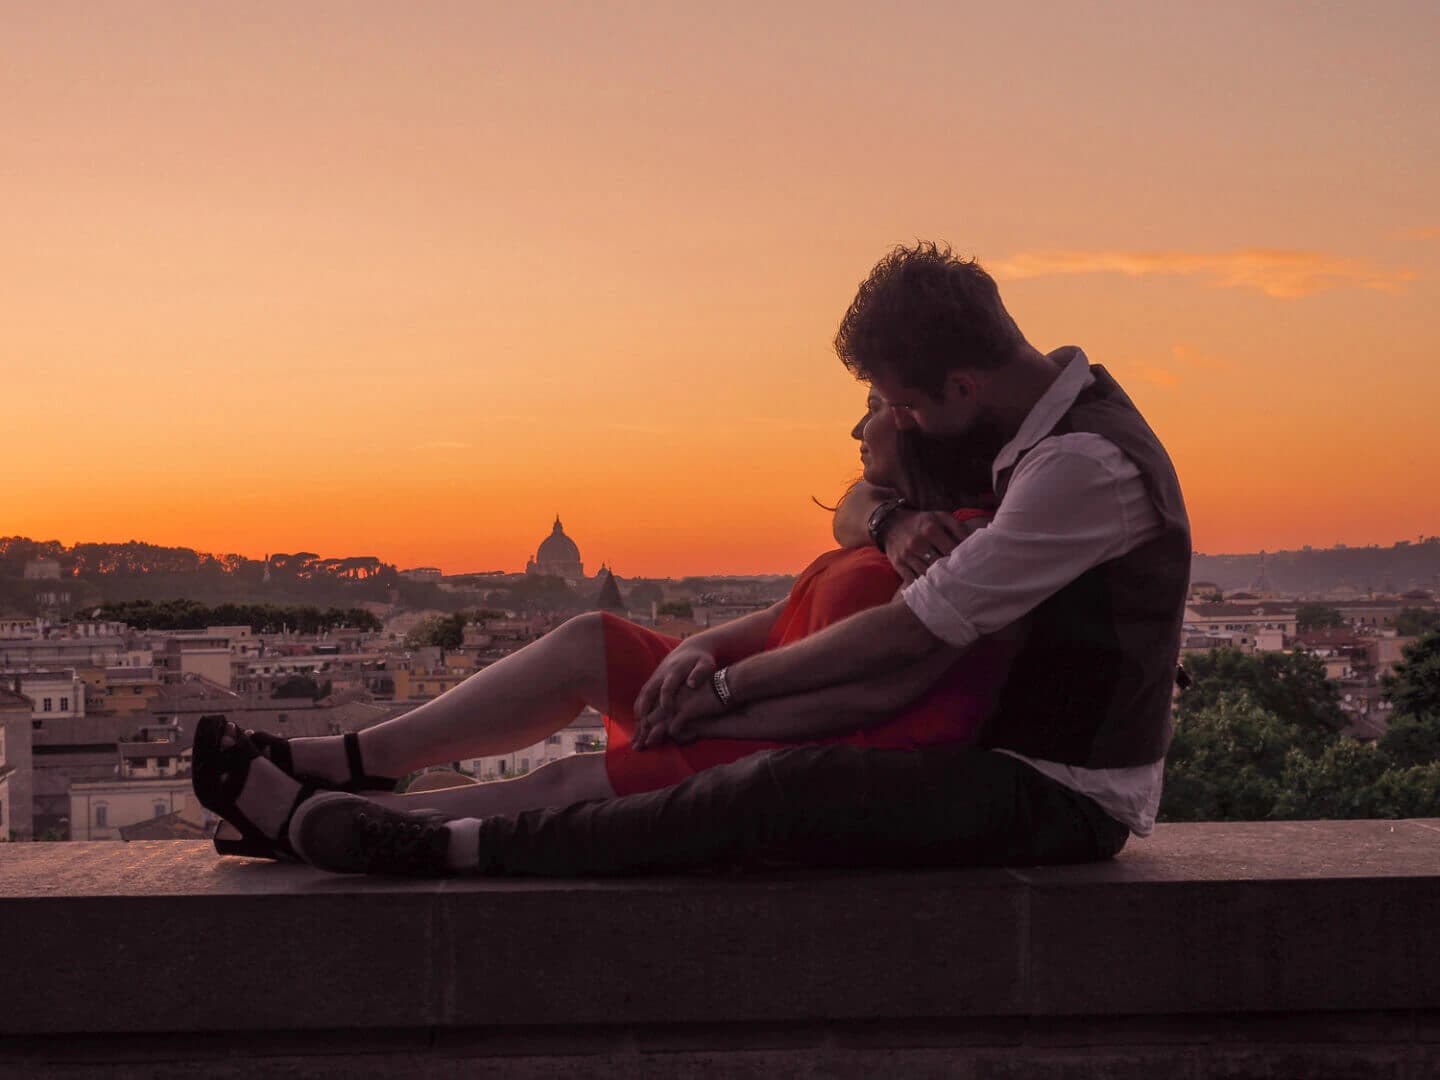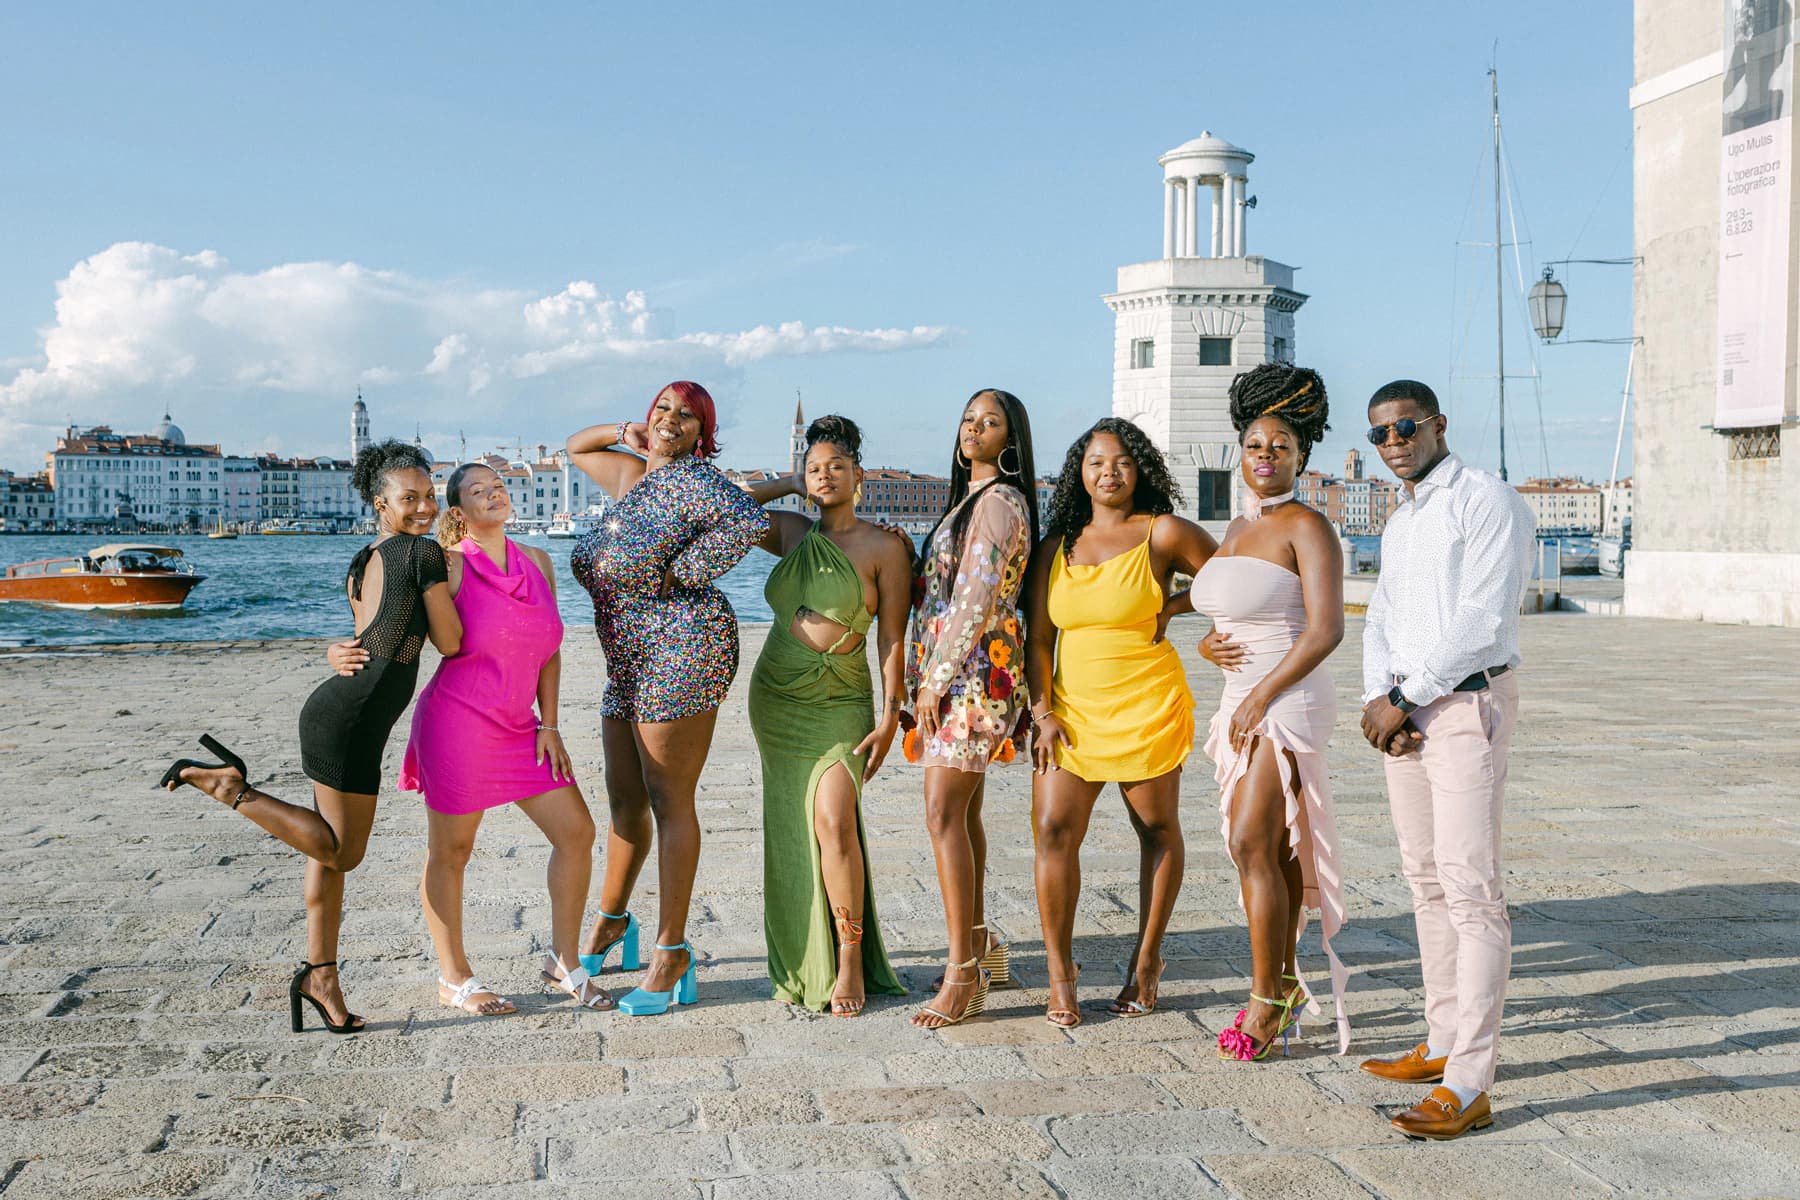
A Venice photoshoot route from Rialto Bridge to St. Mark’s Square combines two famous landmarks with the quieter canals and courtyards that make the city feel personal. It is not a straight walk. The best photographs come from small detours, reflections and pauses away from the main pedestrian flow.
The route works particularly well for couples, honeymooners, solo travellers and short surprise proposals. Allow about 90 minutes for a comfortable pace; an hour is possible if you keep the number of stops focused.
Start near Rialto Bridge
Meet close to Rialto early in the morning for open views across the Grand Canal. The bridge itself becomes crowded quickly, but nearby fondamenta and side streets offer strong architectural frames and easier movement. Your photographer can begin with relaxed walking photographs before moving into closer portraits.
The market side has texture and local character, while the opposite bank provides classic canal views. Exact access and activity change with deliveries and market days, so a flexible meeting point is useful.
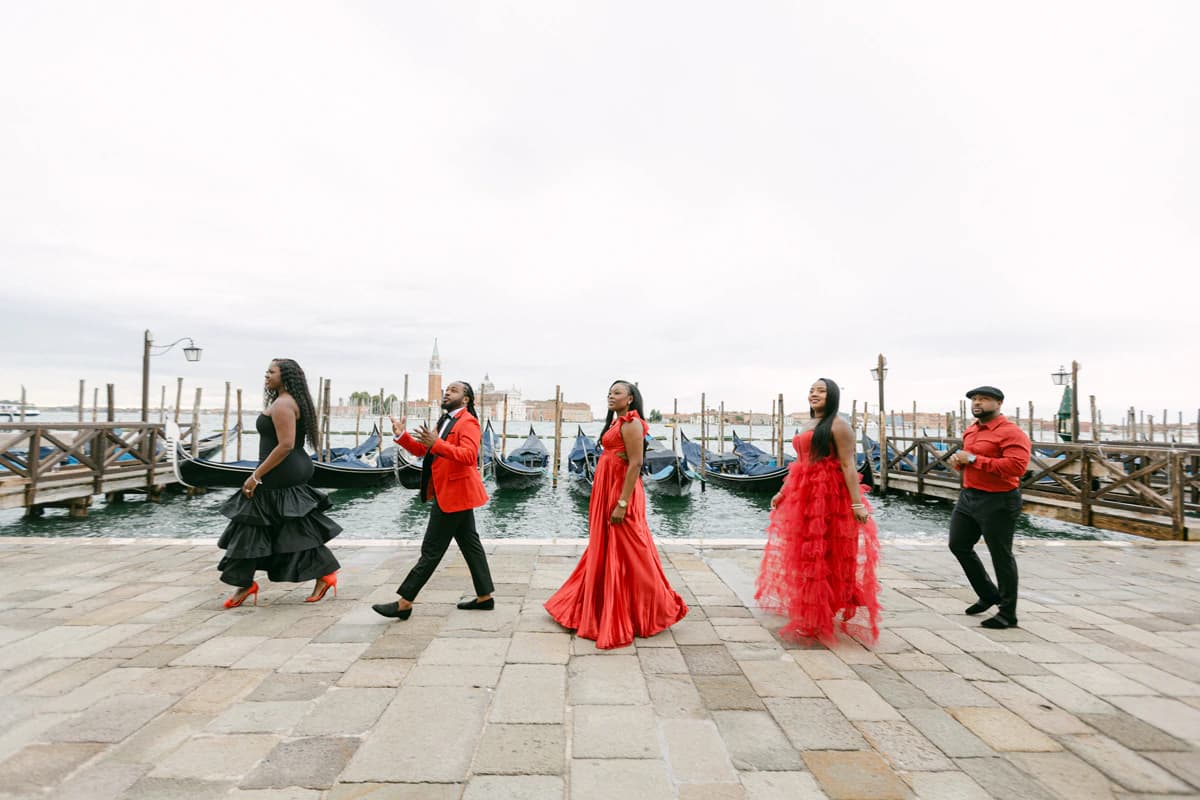
Photograph the quiet canals between the landmarks
Instead of following the busiest signs to San Marco, take a parallel route through narrow calli and small bridges. These passages create layers, leading lines and reflections without needing a monumental backdrop in every frame.
This middle section is where candid photographs work best: walking hand in hand, pausing at the water and moving through pools of light. It also gives couples and families a chance to relax before reaching the busier square.
Finish at St. Mark’s Square and the lagoon
Approach St. Mark’s Square before the middle of the day or later toward evening. The Basilica, Campanile and arcades create formal, elegant compositions. Along the lagoon, the light opens up and the background includes gondolas, San Giorgio Maggiore and the wide Venetian sky.
If the square is crowded, the photographer can work at its edges or use compression and angles to keep the images clean. A few minutes can make a noticeable difference as tour groups move through.
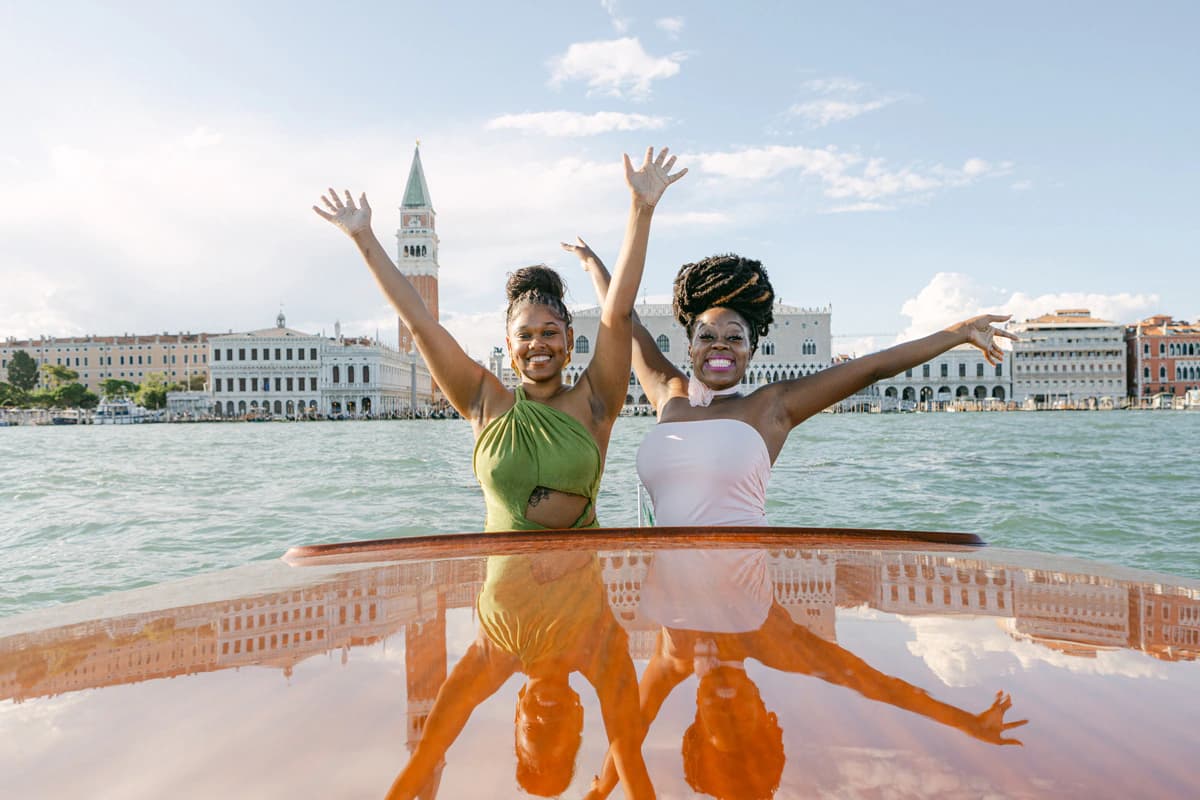
Should you add a gondola to the photoshoot?
A gondola is optional and works best as part of a longer session. It adds variety and an unmistakable Venice atmosphere, but boarding points, route length and light are not entirely controllable. Discuss it in advance so the land route does not become rushed.
A vaporetto can also connect distant areas, but for a Rialto-to-San-Marco route most of the visual variety is available on foot. Comfortable shoes are essential because the route includes bridges and uneven paving.
Rain, acqua alta and seasonal planning
Light rain can produce beautiful reflections and quieter streets. Covered arcades and sheltered passages provide alternatives, while high water may require route changes and extra time. Check conditions close to the session rather than relying only on a long-range forecast.
Tell your photographer whether you prefer classic architecture, candid movement, editorial portraits or a proposal moment. The route should remain a framework, not a checklist, so the final gallery feels like your time in Venice.